
Sometimes it is required to correct stock beyond the inventory process. For example, you work in the warehouse department and are responsible for material scrapping because of quality issues. Corrections are made via an item journal, and you need to consider the mandatory fields like Reason Code according to company rules. Every time you do so, you must remember which fields mandatory and which values are to use. It would be easier if the mandatory fields were marked, so you cannot forget them during the posting process and even better to have default values already set. This would also help to standardize the process for the other team members if they are standing in for you.
Let’s explore how we can improve the process by enabling default values for Item Journals.
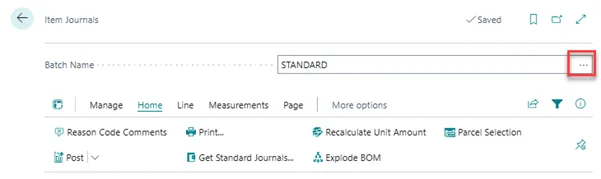
Open Item Journals.
Click on the 3 dots on the right side of the Batch Name to open Item Journal Batches list.
Press + New in the top menu.
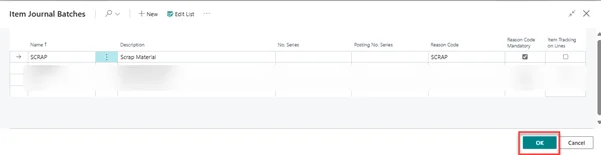
Enter for Name: SCRAP and for Description: Scrap Material.
Activate the Reason Code Mandatory checkbox.
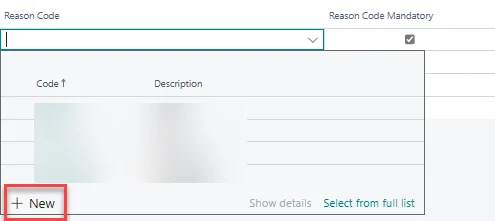
We would like to use the new Batch Name only for scrapping therefore we open the overview list for the Reason Code field.
There is no existing Reason Code which fits, therefore press + New to create one.
The Reason Codes page opens and there we enter for Code: SCRAP and Description: Scrap Material.
Enter a default value for Gen. Prod. Posting Group: SCRAP, which is not mandatory but fits into company rules.

Click OK to save the Reason Code and to go back to the Item Journal Batches.
With the setup complete, we can close the Item Journal Batches by clicking OK.
To try it out we open the Item Journals.
Use the Batch Name that you created earlier: SCRAP.
Enter Entry Type Negative Adjmt.
Enter Item No.
As you can see, the Reason Code is filled automatically with the default value we set up for this Batch.
To add more information regarding the reason for posting, you can add comments by selecting the relevant line and clicking on Reason Code Comments under Home in the top menu.
In the window that opens, the date gets filled automatically, and you can add as many comments as you like in the Comment column. These comments can also be checked on the Item Ledger Entries after posting.
Now you can create the required Item Journals easily with default values for the mandatory fields. This saves time and ensures a standard process for the entire team.