
As a store or warehouse manager, you want to quickly print labels for items to place in your store or warehouse to help customers and staff find items easily. You need to print labels with item numbers, descriptions, barcodes, and prices, and need to update them regularly. For example, when new stock arrives or you rearrange shelves, you want to print several labels at once and make sure the information is correct and aligned with the information in Business Central.
You could create these labels manually, but this takes time and is prone to errors.
Let’s see how to easily print product and shelf labels for items from Business Central!
Go to Items.
Select one or more Items you want to print labels for.
Click on Report in the top menu.
Choose Item Product Label or Item Shelf Label depending on your need.
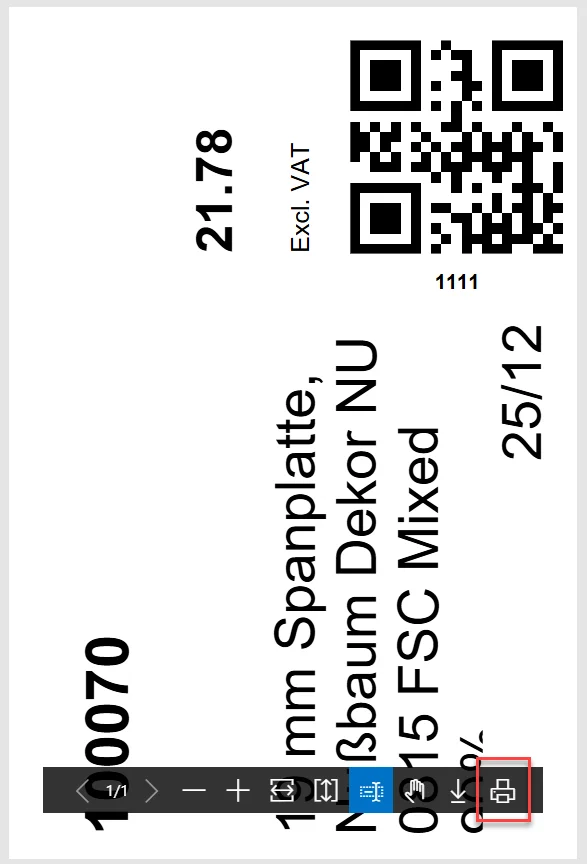
The labels contain the following information:
For this example, we choose Item Shelf Label.
In the window that opens, select the Report Layout from the available options by clicking on the three dots, for example, Item Shelf Label (QR) (8×12 cm), and click OK.
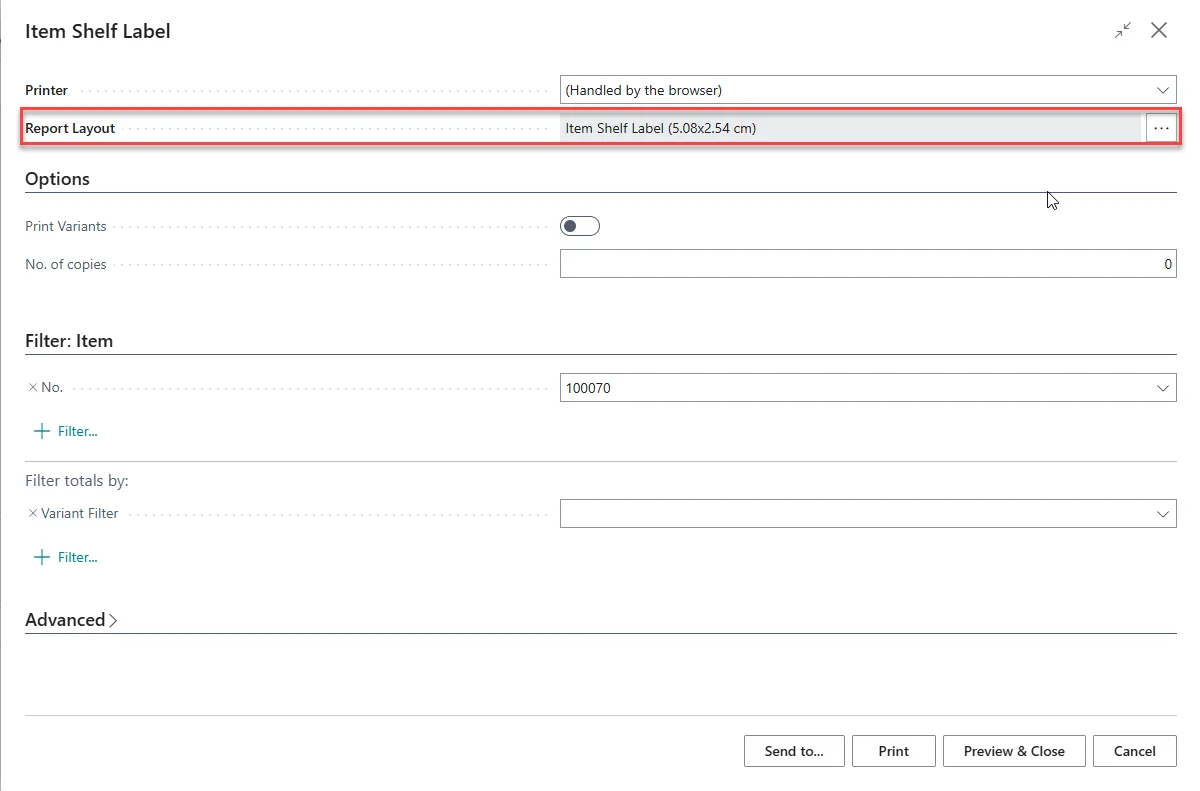
Click Preview & Close to check the label before printing.
Click on the Printer Icon to print the labels.
While you now know how to print these labels, it might also be useful to know where to set up the fields that are printed on them. All fields, except for the barcode, can be set directly on the Item Card. To add a barcode to an Item, follow the steps below.
On the Item Card, in the top menu, go to Related, Item and Item References.
Set the Reference Type to Bar Code and enter the barcode number in the Reference No. column.
Repeat steps 4 to 6 to see how changes to fields are shown on the different label layouts.
Now, you can easily print product and shelf labels for your store or warehouse. Not only does this help your team to easily update and create these labels, but it also makes it easier for customers to find and buy products!