Creating and setting up document templates can be time-consuming and expensive. When your company first implemented Business Central, the setup was tailored to your needs, but things change over time. Wouldn’t it be great if you could update these templates on your own?
That is where this three-part series comes in. Each part covers a different aspect of report configuration. In this third and last part, we will focus on the translations of the documents. Which not only allows you to add translations, but it also makes it possible to change the standard Title and Field names.
Let’s dive in and see how you can easily make these changes!
Firstly, let’s have a look at all the parts of a Report that we can translate.
Follow steps 2 to 4 from the first part of this series, to see how the Report would be printed with the current document template for Sales Quotes.
Translations are possible for the following parts of a Report:
Let’s go over these parts one-by-one.

For all translations, go to Timber Reports.
Select the Line of the report you would like to translate and click on Edit in the top menu.
The Timber Report Header Setup opens.
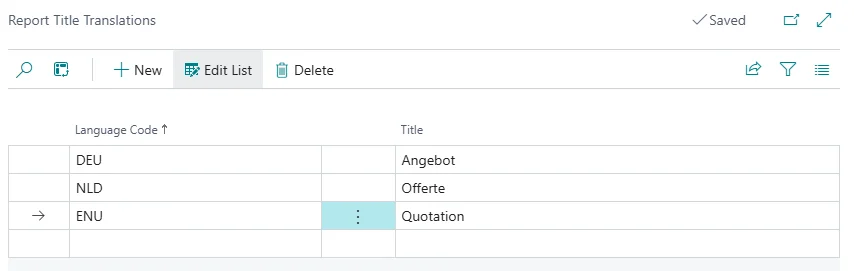
To translate the Report Title, click on Title Translations in the top menu.
In the Report Title Translations window that opens, select the Language Code for which you want to add a translation, e.g., DEU for German, NLD for Dutch, and ENU for English, and add the translated Title.
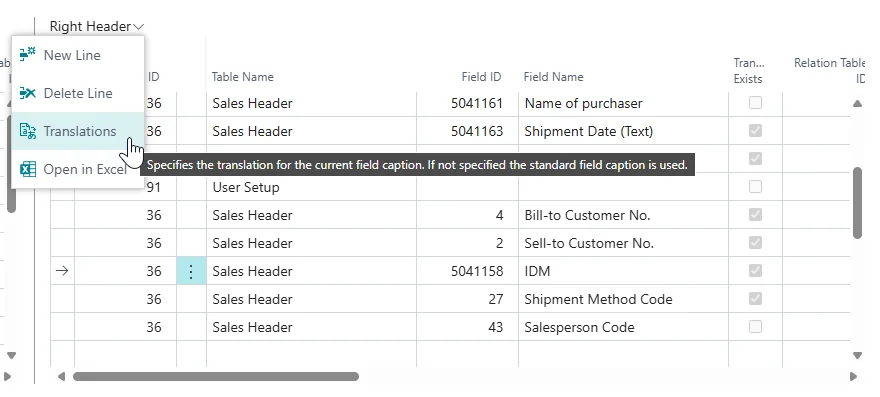
Next, we go to the Header FastTab to translate the Field Names in the Left and Right Header.
In either the Left or the Right Header, select the Line of a Field Name that you want to translate, click on the downward arrow next to Left or Right Header and click Translations.
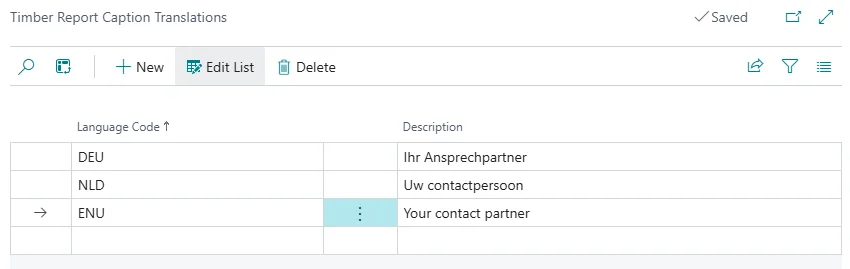
In the Timber Report Caption Translations window that opens, select the Language Code for which you want to add a translation, and add the translated Field Name in the Description column.
Lastly, we add translations for the extra information we added to the Lines in the previous part of this series. For this, go to the Lines FastTab.
Select the information you want to translate, click on the downward arrow next to Lines and click on Translations.
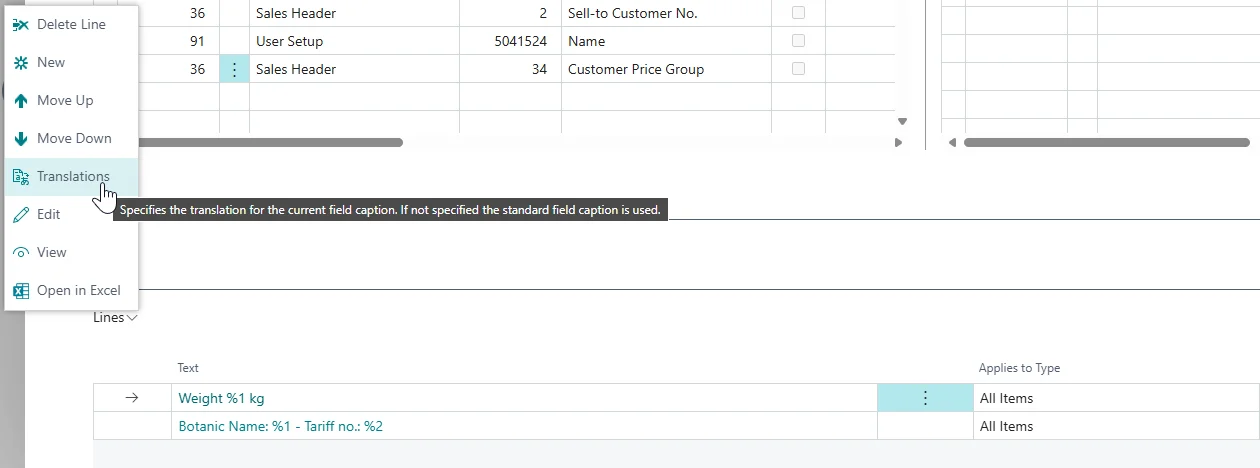
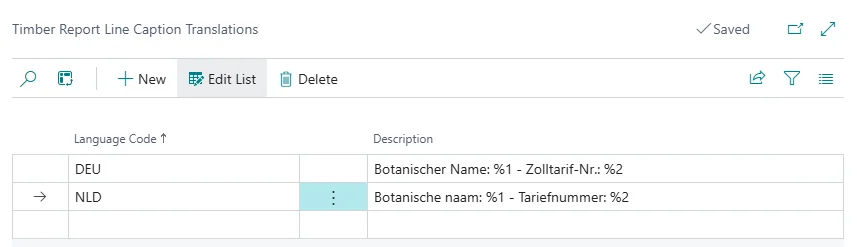
In the Timber Report Line Caption Translations window that opens, select the Language Code for which you want to add a translation, and add the translated information in the Description column.
Note: Make sure you do not forget the Placeholder(s) in the translations.
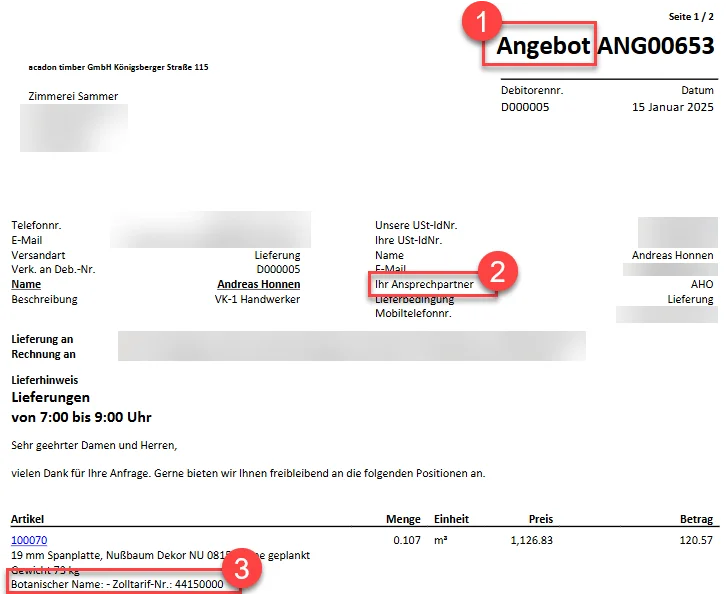
Now that we have made these changes, let’s see what the translated Sales Quote looks like.
While you can only change one document template at a time, there is a lot of flexibility on how you want to translate the several parts of each Report. Have fun discovering all the possibilities!
To find out more customization possibilities, have a look at the other parts of this series: